This is the shortest path from installing photon to watching something. Each step has a guide of its own if you need more detail.
Setting up
- Install photon from the App Store on your iPhone, iPad, Apple TV or Mac.
- Open it. The welcome screen asks you to add a source: a media server, a Live TV subscription, a drive, or — on a Mac, iPhone or iPad — a file you already have.
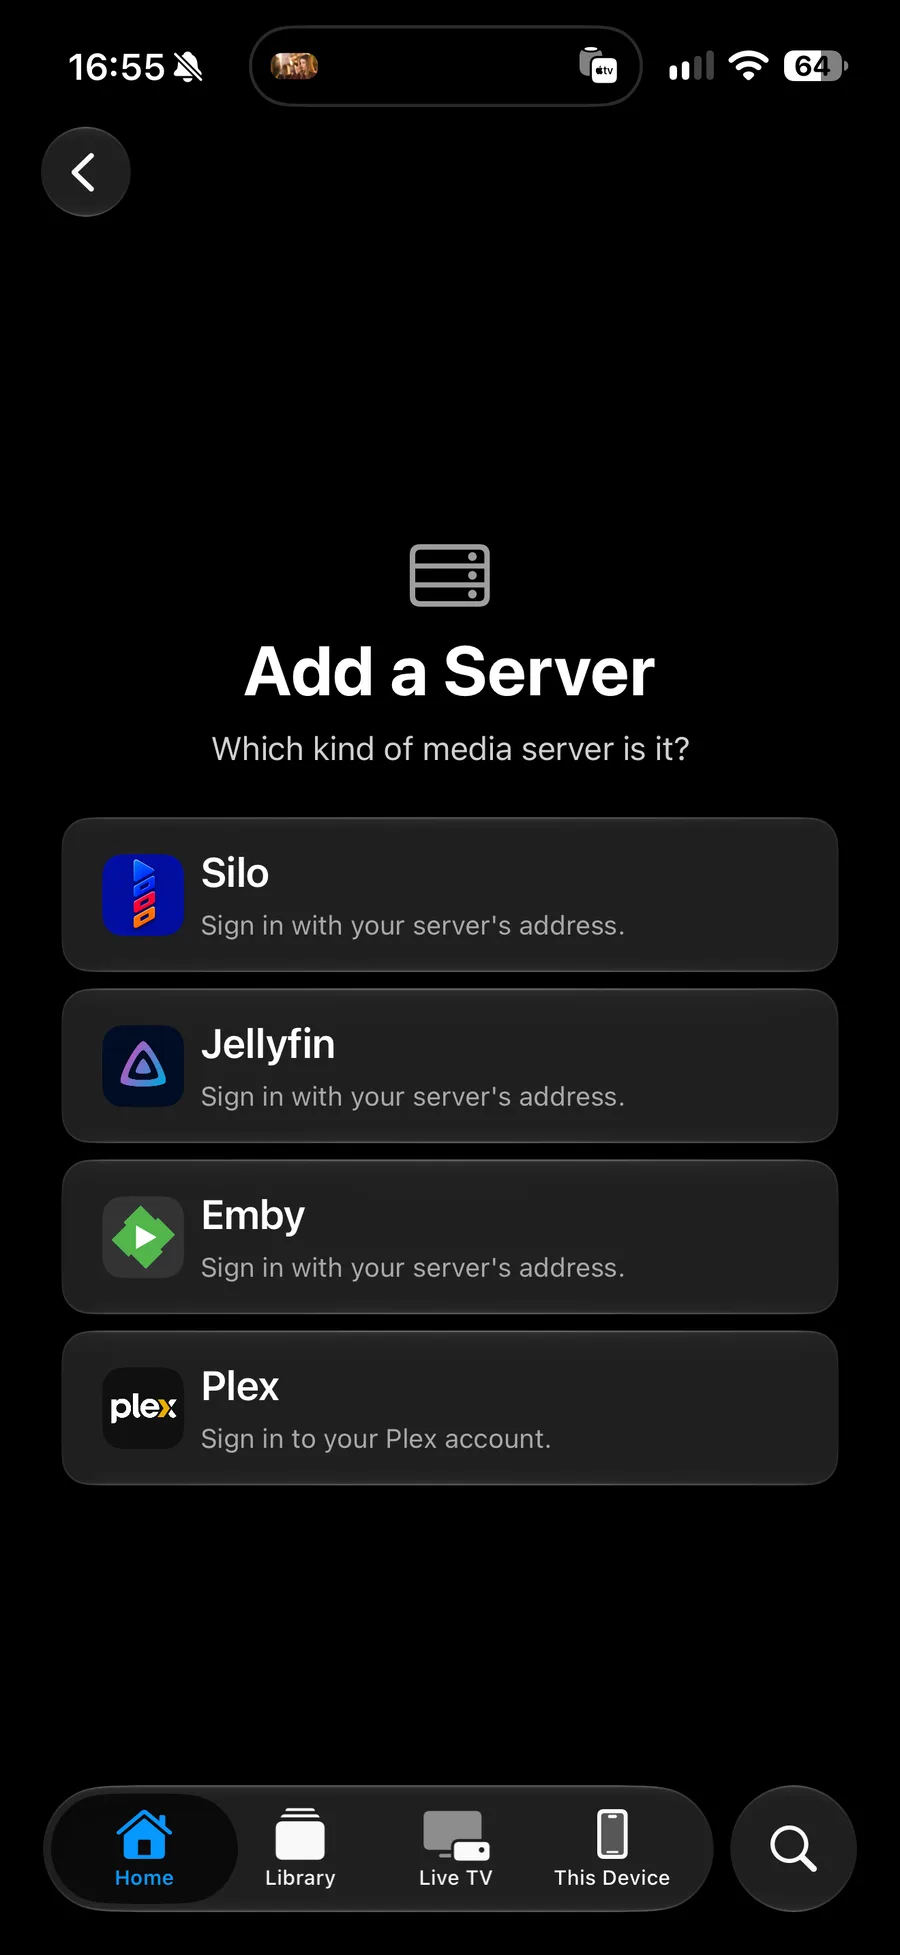
- Add a media server. Pick Plex, Jellyfin, Emby or Silo. For Plex you sign in to your account and pick a server from the list; for the other three you enter your server’s address and sign in.
- Wait a moment. Photon asks each source for its libraries and builds Home out of them.
- Press something on Home to open its page, then press Play.
What to do next
| Add another source | Settings ▸ Media Servers, Live TV or Drives. There is no limit, and connecting servers is free. |
| Set your languages | Settings ▸ Playback ▸ Languages, if you want a particular audio or subtitle language by default. |
| Arrange the app | Settings ▸ General, for the tab order, the Home rows and which libraries appear. |
| Take something with you | The download button on a title’s page, on iPhone, iPad or Mac. |
Where things are added
Sources are added in Settings, not from the tabs. This is why a tab can disappear when its last source is removed without taking the way back in with it.
Open Settings with:
- The gear in the top corner on iPhone, iPad and Apple TV.
- Photon ▸ Settings on a Mac.
If something does not work
- The server will not connect. Check the address in a browser on the same network first. The connection guide has the rest.
- A title will not play. Start with the playback guide, which sorts a file problem from a plan or a network one.
There is nothing to sign up for. Photon has no account of its own, and the only credentials it asks for are your own servers’.